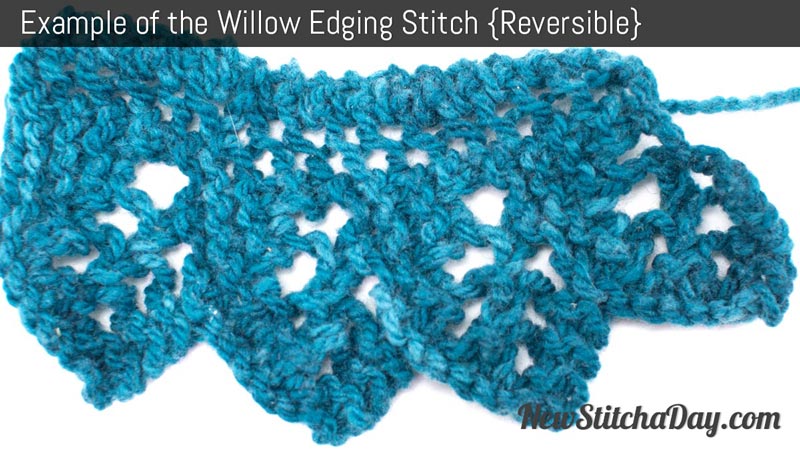
This video knitting tutorial will help you learn how to knit the willow edging stitch. This stitch would be great for all of your edging projects!
Materials Used in this Tutorial
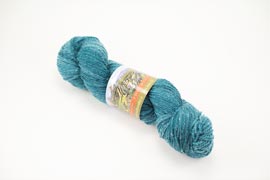
Mountain Meadow Wool
Our fiber factory begins in Wyoming’s rugged mountain climate.Because it is so fine, mountain merino yarn is silky soft to the touch, insulates well, and feels delightful next to your skin.We process the best fiber from the best growers in the West, transforming it into extraordinary wool products: knitting and weaving yarns; handspinner roving; quilt batts; felt and more. Made in USA.
A pair of knitting needles
Sponsored by:

TECHNIQUES USED IN THIS STITCH:
Knit Stitch – K
Purl Stitch-p
Knit 2 Together-k2tog
Yarn Over-yo
Skill: Intermediate
Cast On:Cast on 10 sts.
Pattern Instructions
-
Note
Sts should only be counted after the 8th row.
-
Row 1
(Right Side): sl 1, k2, yo, k2tog, *yo twice, k2tog; rep from * once more, k1.
-
Row 2
k3, [p1, k2] twice, yo, k2tog, k1.
-
Row 3
sl 1, k2, yo, k2tog, k2, *yo twice, k2tog; rep from * once more, k1.
-
Row 4
k3, p1, k2, p1, k4, yo, k2tog, k1.
-
Row 5
sl 1, k2, yo, k2tog, k4, *yo twice, k2tog; rep from * once more, k1.
-
Row 6
k3, p1, k2, p1, k6, yo, k2tog, k1.
-
Row 7
sl 1, k2, yo, k2tog, k11.
-
Row 8
bind off 6 sts, k6 (not including st already on needle after binding off), yo, k2tog, k1.
Repeat rows 1-8 until you reach your desired length.


Like This Stitch?
Check out The Harmony Guides: Knit & Purl for more great stitches just like the ones on this site!
Swatch Photos