music in video is from demo 2008 by (Latch\xe9 Swing) / CC BY-NC-SA 2.0
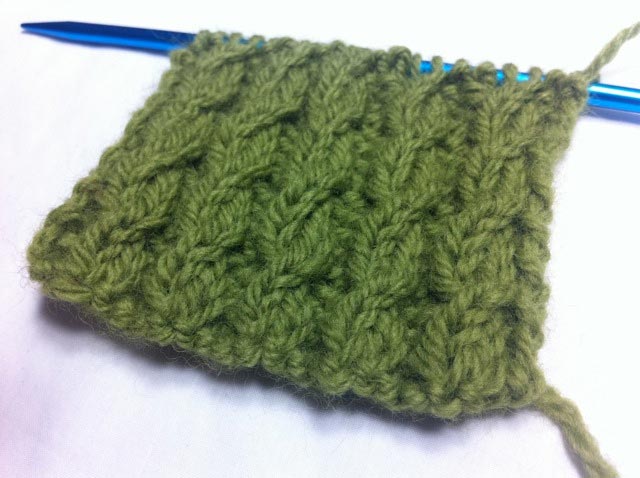
The right twist stitch is a mock cable technique that allows you to simulate a cable without the use of a cable needle.
Also known as: mock cable.
Abbreviation: RT
Skill: Intermediate
Pattern:
Step 1: Insert your needle into the second stitch on your main needle knitwise and continue through the first stitch. Your needles should form an “X”.
Step 2: Wrap your yarn around the bottom needle.
Step 3: Pull the yarn through both stitches. Be Sure to create some extra slack when pulling through.
Step 4: Separate the first two stitch on your main needle and insert your other needle into the first stitch knitwise.
Step 5: Wrap the yarn around the bottom needle again.
Step 6: Pull the yarn through the stitch.
Step 7: Slip both stitches off the main needle together.
Repeat steps 1 – 7 until you have reached your desired length.
After a few repeats your pattern should look like this:


What a wonderful post! this is my first time i visit here.article!,I like very much!!Thanks for the sharing.CK scarves
This helped SO much. I’m a visual learner and sometimes don’t get the written instructions!