About this technique
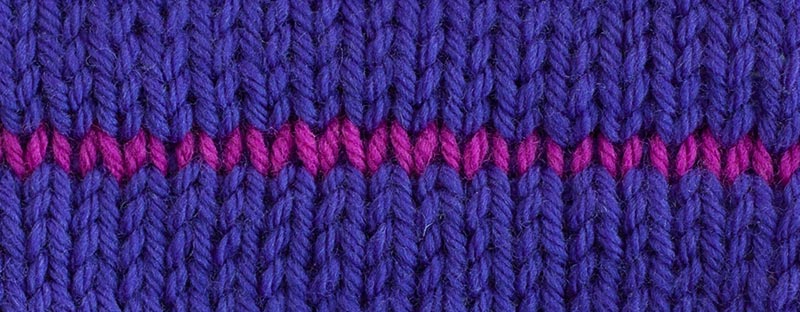
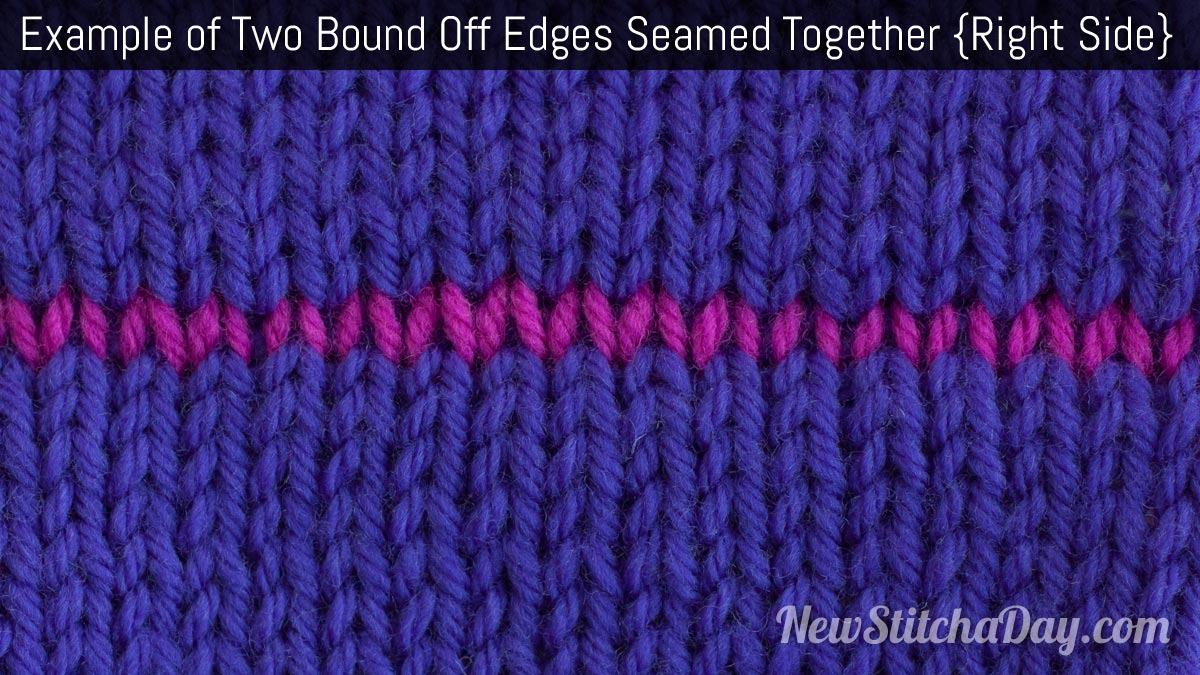
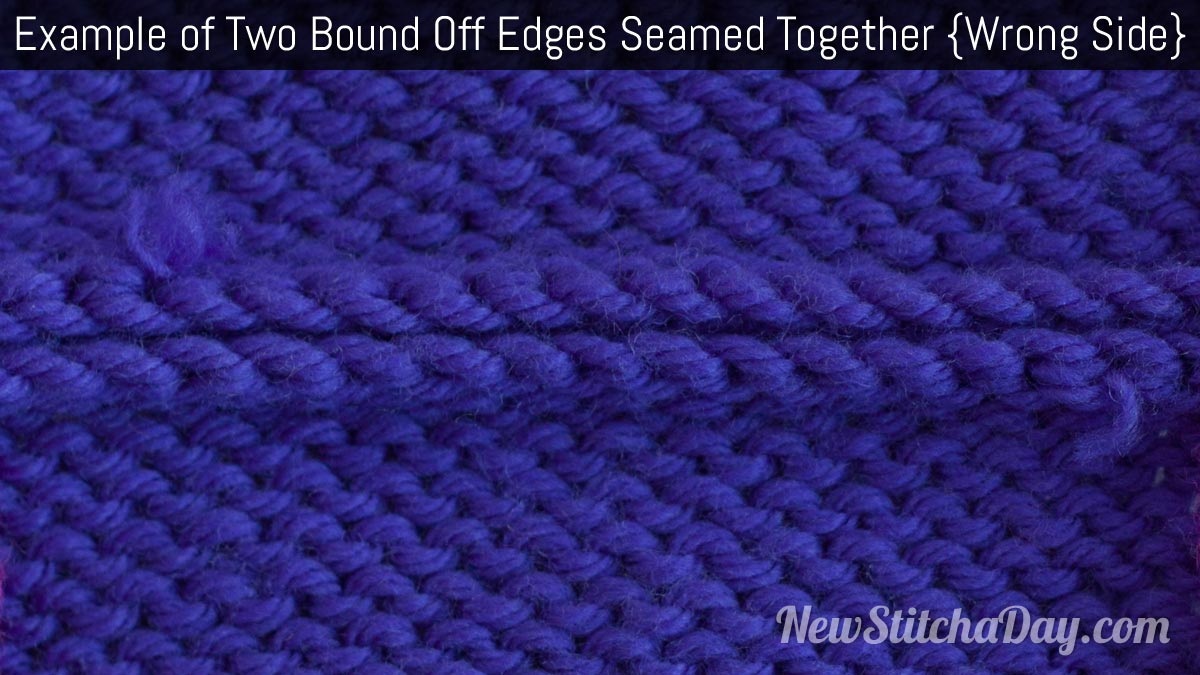
This knitting tutorial will help you learn how to seam bind-off edges together. It is used most often when attaching the front and back or a sweater together at the shoulder.
When you seam bind-off edges together you want to avoid an unsightly bump in the fabric. If you just seam the edges together directly you’re going to end up with a lumpy or more visible seam. This simple technique will give you a virtually invisible seam! This is achieved by working the seam into the rows directly below the bound off edges. Once the two pieces of fabric are seamed together the result is a strong seam that can support the weight of the sweater more easily. This provides a nice structure to your fabric that will make your sweater look more professional.
Remember, seaming your work together can be a pain, but this tutorial will break it down step by step, so it’s easy for you to follow along.
[VIDEO] How to do this technique
Subscribe to our YouTube Channel
Technique Instructions
Tip
Make sure your thread goes over the top of the bound off edge, not behind.
- Step 1
Take the bound off edges and line them up together. - Step 2
After you’ve threaded the needle, take your darning needle and insert into the center of the first stitch on your bottom piece of fabric. Draw the needle through going from behind the fabric toward you. - Step 3
Insert your darning needle behind the corresponding “V” stitch on the fabric piece above. Draw through going from right to left. - Step 4
Insert your darning needle into the center of the same stitch on the bottom piece of fabric. Pull tight until the stitch is of a similar size to the stitches above and below.
Repeat steps 2 – 4 until you have seamed all the stitches together.


I love the information of the stitches- how tos…
Johnny,
I have been knitting for years but this is the best method for seaming together two bound-off pieces I have seen. I like the clean look that this one gives a project.
Love this site and I have been giving sign-up information to everyone. really appreciate this site.
Kären
Thank you! I like it too!
I am through knitting my Christmas gifts, but I intend to make a sweater for myself, I will use this for sewing the sweater together.
Great! Send us some photos of your gifts when you have a chance!
A wonderfull way of seaming together two bound-off pieces .
I love this video and am going to use it.
thank you
Maya
Dear Johnny and Crew.
Welcome back! Nice work with the new website. the new logo looks pretty sharp too!!!!
You have the most educative and yet concise explanations on knitting.
May I point out only that in this video you are actually using a tapestry needle not a darning needle. (not that the result would change a bit)
Stay in peace!
Keep up the wonderful work which, by the way, we forward to our clients!
Yours
Luiz
Usually I say a tapestry needle or darning needle, but I guess I forgot this time. I’ll use the correct term next time. Thanks!
Great video. It seems to be similar to a duplicate stitch. Going to knit a few swatchs and give it a try.
It is performed the same way, just used differently.
May I humbly suggest you use lighter colored yarns for your videos so it would be easier for us to see what you are doing. Just not possible with dark purple.
We do our best to work with our sponsors on displaying a wide variety of yarns and colors. Sometimes things don’t film as well as we thought they would. You may be able to turn the brightness up on your monitor to see more detail.
Hey all!
I’m a newbie knitter, and I need some help. I’m doing my first scarf and I was wondering if it is possible to “add on” to the original side of your scarf? I realized I mare it a bit short, so I’m adding on a new colored yarn to the side I’m knitting, but I want to add it on the other side to make both sides the same. Is that possible?
Ex: original edge-> [===========/ <-the side I am still knitting.
^
This is where I want to add on to.
Cheers!
Andi