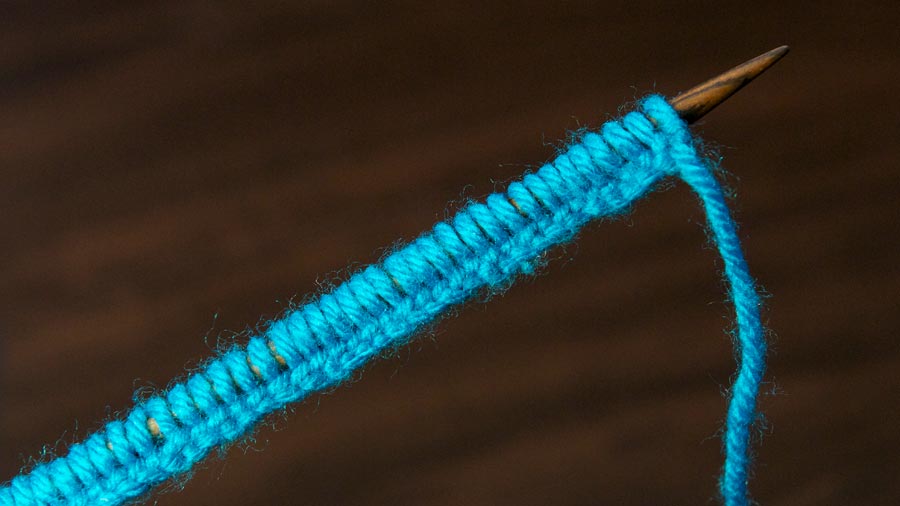
This video knitting tutorial will teach you how to knit the long tail thumb cast on. This method uses both hands to manipulate the yarn onto the needle, rather than the slingshot style of the traditional long tail cast on. Some people find it easier because it is slower, but it is not my favorite. I am not a fan of using my thumb to cast on, so the video shows me using my index finger. The same technique is used with your thumb. The result is a stretchy edge that is well suited for stockinette, or ribbing.
Also known as: The Thumb Cast On
Pattern:
Step 1: Take a length of yarn from your ball of yarn. Make sure to measure about one inch per stitch for every stitch you will be casting on. If you run out of yarn you may have to start over, or use the single cast on to continue.
Step 2: Make a slip knot and insert the needle into the loop. Tighten slip knot onto needle.
Warning!- When casting on a lot of stitches the yarn has a tendency to untwist. Make sure the long tail is closest to you so you can easily retwist the yarn as you go.
Step 3: Take the long tail piece of yarn, and wrap it around your thumb so the loose end is on top.
Step 4: Take the tip of your needle and slip the loop around your finger onto it. DO NOT tighten it down yet.
Step 5: Take the working yarn and wrap it around the needle with your dominant hand.
Step 6: Take the loop you first put on the needle and pull it off the tip of the needle.
Step 7: With the long tail of your yarn, tighten the stitch onto the needle. Don’t tighten to hard, just enough so the yarn can slide easily along the needle.
Repeat steps 3-7 until you have cast on your desired number stitches.

