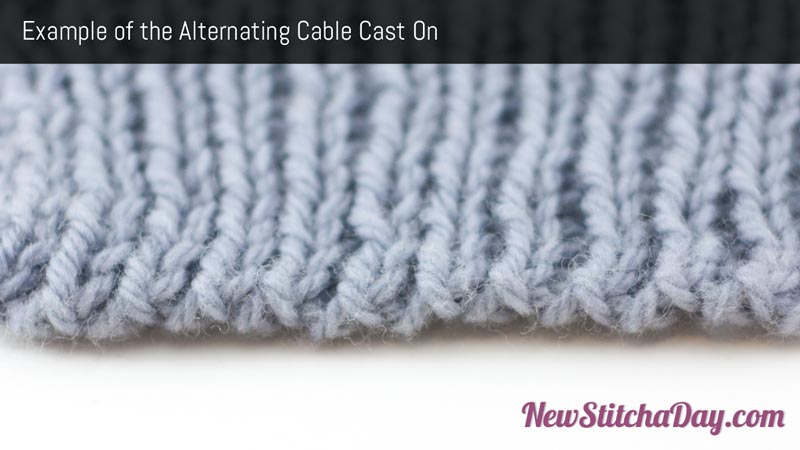
This video knitting tutorial will help you learn how to knit the alternating cable cast on. This technique for starting a project is similar to the cable cast on. It creates a nice durable edge, but has be adapted for ribbing. It’s horizontal stretch make it perfect for hat brims and sock and sweater sleeve cuffs.
Materials Used in this Tutorial

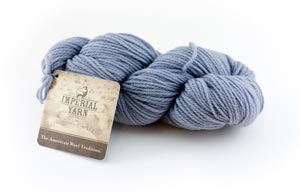
Imperial Yarn Erin: Worsted 3-Ply
One of Imperial Stock Ranch’s newest offerings, Erin is a terrific all-around medium worsted weight yarn. It is especially nice for color work and textured stitch patterns. Available in eight colors as well as Natural and is a great choice for hand dye projects.
Instructions
-
Step 1
Make a slip knot and place it on your left needle.
-
Step 2
Insert your right needle into the slip knot, knitwise, wrap the right needle with the working yarn, and pull through the slip knot.
-
Step 3
Draw some slack through the stitch. You should now have an elongated loop. Place this loop on the tip of your left needle and tighten.
-
Step 4
insert right needle purlwise between last 2 sts on left needle, and pull through the stitches.
-
Step 5
Draw some slack through the stitch. You should now have an elongated loop. Place this loop on the tip of your left needle and tighten.
-
Step 6
Insert your working yarn inbetween the two stitches on your needle, knitwise, wrap the right needle with the working yarn, and pull through the stitches.
-
Step 7
Draw some slack through the stitch. You should now have an elongated loop. Place this loop on the tip of your left needle and tighten.
-
Tip
The recessed sts will be purl sts, and the protruding sts will be knit
sts.
Repeat steps 4-7 until you have cast on your desired number of stitches.
Like This Stitch?
Check out Cast On, Bind Off for more great techniques just like the ones on this site!
Swatch Photos


I’m liking this a whole heck of a lot. Thank you.
Thank you for watching!
Great and timely – I’m just ready to cast on a neckband for a poncho. BUT, wouldn’t I want to cast on an even number since this will be knit in the round? But, maybe I’m over thinking that.
Yes that is correct. You cast on an even number of stitches if you are knitting in the round.
If the pattern is a 2-stitch rib, I’m assuming you would also do the alternating cable cast on in 2’s instead of 1 p-wise and 1 k-wise. Is that right or would the results be too loose?
That would work fine.
This is WONDERFUL – so much easier and neater than tubular cast on.
I’ve never tried a specific co for ribbing but I just used this one thanks to your excellent tutorial. It really makes the edge look so much nicer!
Thanks for offering all your videos. The instructions are very clear and the high quality videos make everything very easy to understand.
Johnny Thank you so much for your videos, they ROCK! I am a beginner and without you I would still be making squares in garter stitch. lol ; )
I want to make a 2 x 2 ribbed hat would I still use this cast on, and if so, after casting on appropriate # of sts would I then start with knit 2 or purl 2 on 1st row?
Thanks for your time and patience,
Julie
Yes you can use this cast on, but switch your direction every two stitches instead of every stitch. It does not matter if you start knitting or purling first in your rib pattern, but most people start with knits. you’ll want to cast on in multiples of 4 stitches so your ribbing matches up in the round. Does that answer your question?