This video knitting tutorial will help you learn how to graft garter stitch horizontally. This technique is used to connect two pieces of garter stitch fabric on a horizontal edge seamlessly.
Skill: Intermediate
Pattern Instructions:
Step 1: Thread a section of your MC yarn 3 – 4 times the length of your finished edge onto a tapestry needle.
Step 2: Line up your ending and CO edges. You should have an equal number of stitches on each side.Both needle tips should be facing the same direction at the bottom of the work.
Step 3: Insert the tapestry needle into the first stitch on the back needle, pull through until 4” is left (so you can weave it in later). Insert your tapestry needle into the same stitch again. Pull tight, locking the yarn in place.
Step 4: Insert your tapestry needle into the first stitch on your front needle, purlwise, and pull tight.
Step 5: Insert the tapestry needle into the first stitch on the back needle purlwise and pull tight.
Step 6: Insert your tapestry needle into the first stitch on the front needle knitwise. Pull tight and off the needle.
Step 7: Insert your tapestry needle into the next stitch on the front needle, purlwise, and pull tight.
Step 8: Insert your tapestry needle into the first stitch on the back needle, knitwise. Pull tight and off the needle.
Step 9: Insert your tapestry needle into the next stitch on the back needle, purlwise, and pull tight.
Rep steps 6 – 9 until all sts have been grafted.
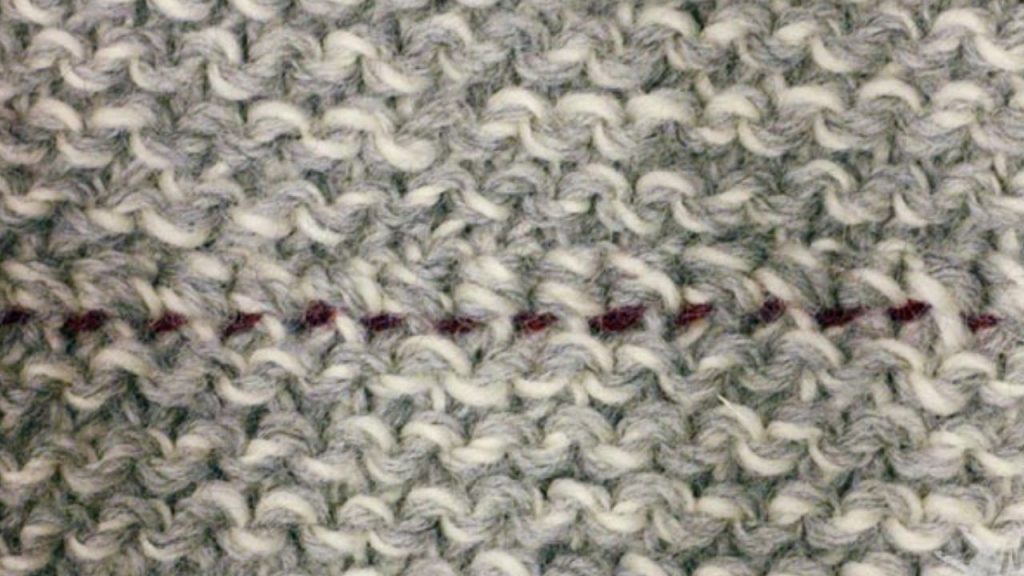
Example of Garter Stitch Grafted Seamlessly (click for larger)
