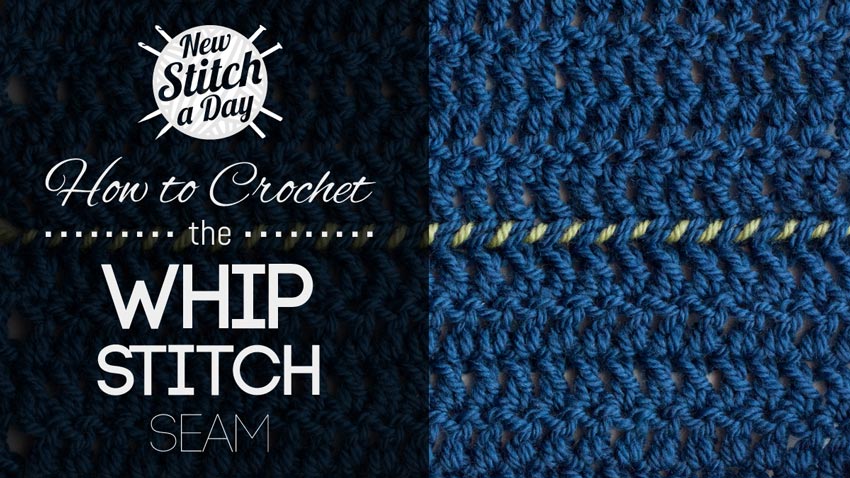
This video crochet tutorial will help you learn how to crochet the whip stitch seam. This method of joining two pieces of crochet fabric uses a simple whip stitch. It’s best for fabric with straight edges and creates an almost invisible seam.
Skill: Easy
Instructions:
Note: You will need a yarn tail 3 – 4 times the length of your finished edge
Hold your pieces of fabric with the right sides facing each other.
Step 1: After threading a darning needle with your yarn tail, insert the needle into the first stitches of each piece of fabric. Come back around and through the same stitch, going front to back.
Step 2: Insert your darning needle through the inside loops of the next stitch, going front to back.
Rep step 2 until all stitches have been seamed.
Example of the Crochet Whip Stitch Seam Right Side (click for larger)

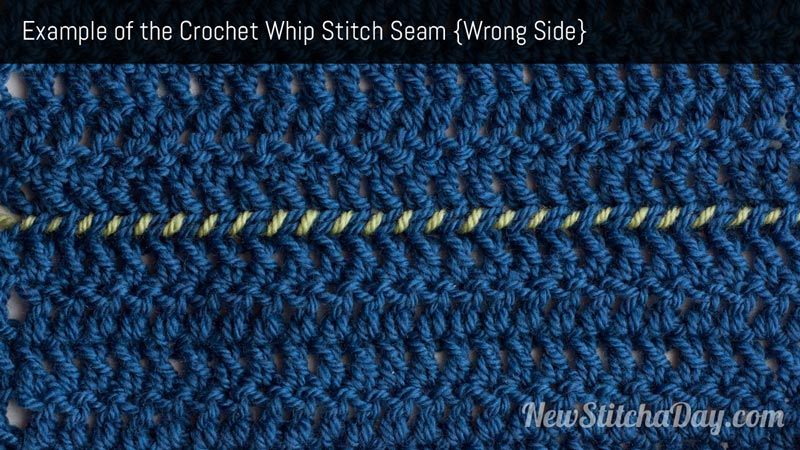
Example of the Crochet Whip Stitch Seam Wrong Side (click for larger)


