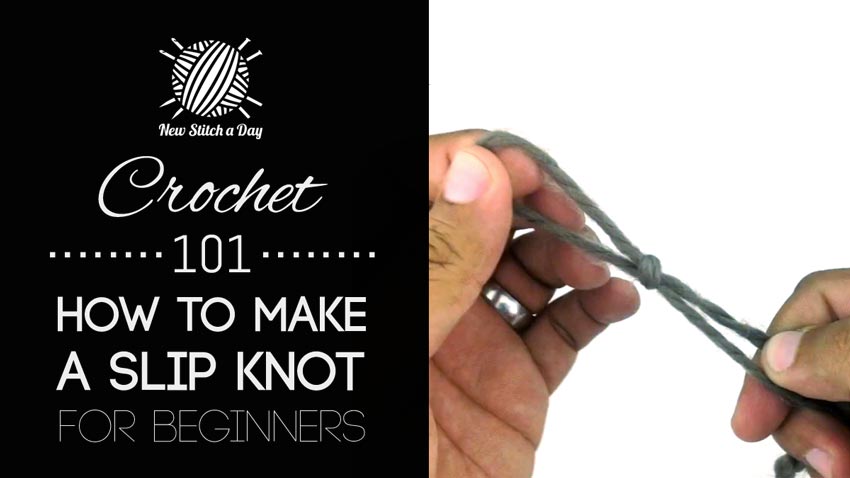
This crochet 101 beginners video tutorial will help you learn how to make a slip knot. You will need to know how to make a slip knot in order to begin a foundation chain – the first step in most crochet projects.
Materials Used in this Tutorial
A Ball of Yarn
A Crochet Hook
Pattern Instructions
Skill: Beginner
-
Step 1
Take the loose end of the yarn and pull out about 10 to 12 inches of yarn from your ball of yarn. This is the yarn we’ll be working with. Take the tail of the yarn and make a small loop, fold working end of the yarn over onto the tail of the yarn creating a small x between the two strands that are crossing with the loose end is on bottom.
-
Step 2
Take another small section of yarn about 2 inches away from the loop, pinch the x with thumb and index finger, create another small loop and pinch it together as well.
-
Step 3
Take the smaller loop and thread through the bigger loop making sure to come underneath the larger loop instead of over it.
-
Step 4
Grab the tail end of end of the yarn and the working yarn, pull the loop tight leaving enough room for your crochet hook
-
Step 5
Grab your crochet hook and slip the loop around it, lightly tighten loop so it sits securely but not tightly on the needle.
Like This Tutorial?
Check out The Chicks with Sticks Guide to Crochet for some great beginner projects to get you started.


