music in video is from demo 2008 by (Latch\xe9 Swing) / CC BY-NC-SA 2.0
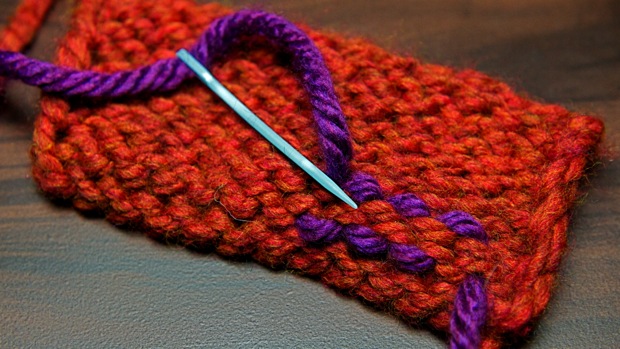
This video knitting tutorial will help you learn how to weave in your ends. To properly finish your project you must get rid of those pesky yarn tails at the beginning, end, and anywhere you added a new ball of yarn or color. This technique will help you invisibly secure your ends while still maintaining the stretch of your fabric.
Skill: Easy
Pattern:
Note: When looking at the wrong side of stockinette, each row is made of an overlapping chain of stitches. We will be referring to these as bottom and top chains.
Step 1: Take a darning needle threaded with your loose end and insert it into one of the top chains going up at an angle and into the bottom chain of the next row. Pull tight.
Step 2: Insert your needle into the next bottom chain, going down at an angle into the next top chain from your starting point.
Step 3: Insert you needle into the next top chain, going from up at an angle into the bottom chain you worked in the last step.
Step 4: Insert your needle into the next bottom chain, going down at an angle into the top chain that you worked in the last step.
Repeat steps 3 and 4 until you have sewn in a few inches. Then pull lightly on your yarn and cut it close to your fabric.

