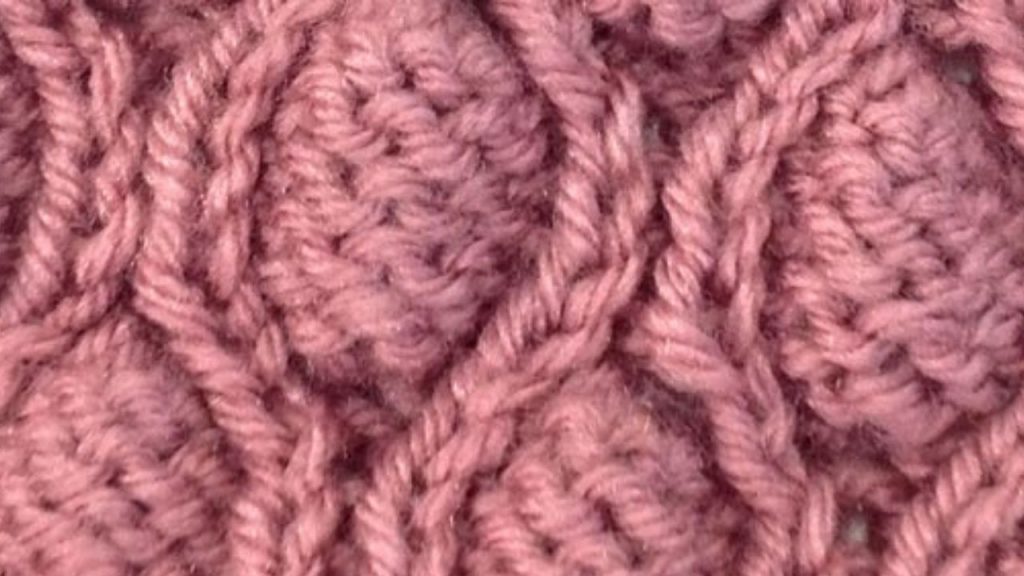
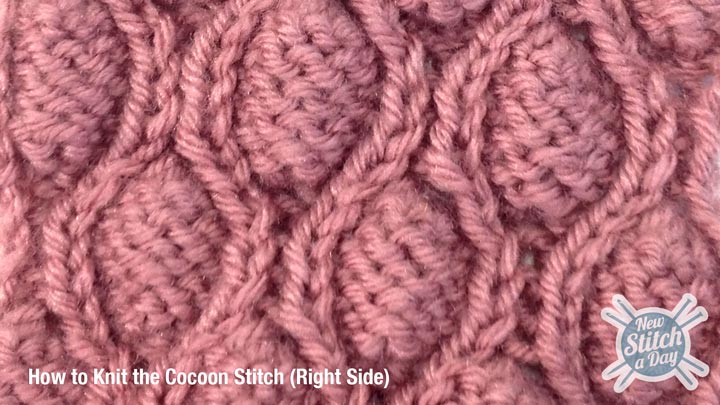
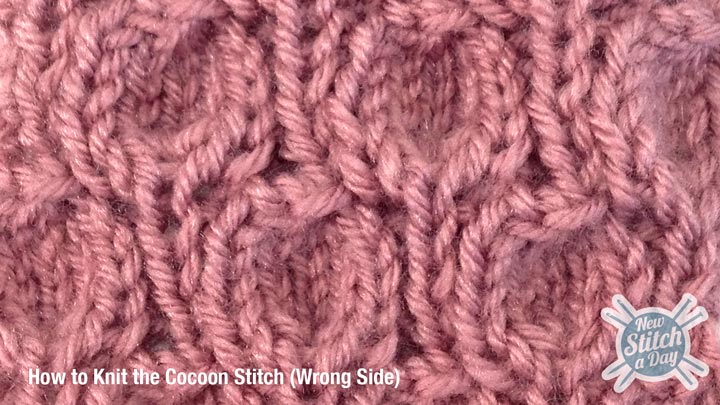
The Cocoon Stitch creates a fascinating texture! Small textured cocoons are nested among waving ribs to make a beautiful bumpy fabric. By combining increases, decreases, bobbles, reverse stockinette, and ribbing, this is one of the most unique knitting stitches we have encountered. It takes a bit of effort to create, but the end result is totally worth it!
Row 1 (WS): P1, *k1, p1, k5, p1; rep from * to end
Row 2: K1, *p5, k1, p1, k1, rep from * to end
Row 3: P1, *k1 under running thread between the st just worked and the next st, (k1, p1, k1) in next st, k1 under next running thread, p1, p5tog, p1; rep from * to end
Row 4: K1, *p1, k1, p5, k1; rep from * to end
Row 5: P1, *k5, p1, k1, p1; rep from * to end
Row 6: K1, *p1, k1, p5, k1; rep from * to end
Row 7: P1, *k5, p1, k1, p1; rep from * to end
Row 8: K1, *p1, k1, p5, k1; rep from * to end
Row 9: P1, *p5tog, p1, k1, under running thread, (k1, p1, k1) in next st, k1, under next running thread, p1; rep from * to end
Row 10: (rep row 2) K1, *p5, k1, p1, k1, rep from * to end
Row 11: (rep row 1) (wrong side) P1, *k1, p1, k5, p1; rep from * to end
Row 12: (rep row 2) K1, *p5, k1, p1, k1, rep from * to end
Repeat rows 1 – 12 until you have reached your desired length.